Full CG Shot
Analysis and Prep
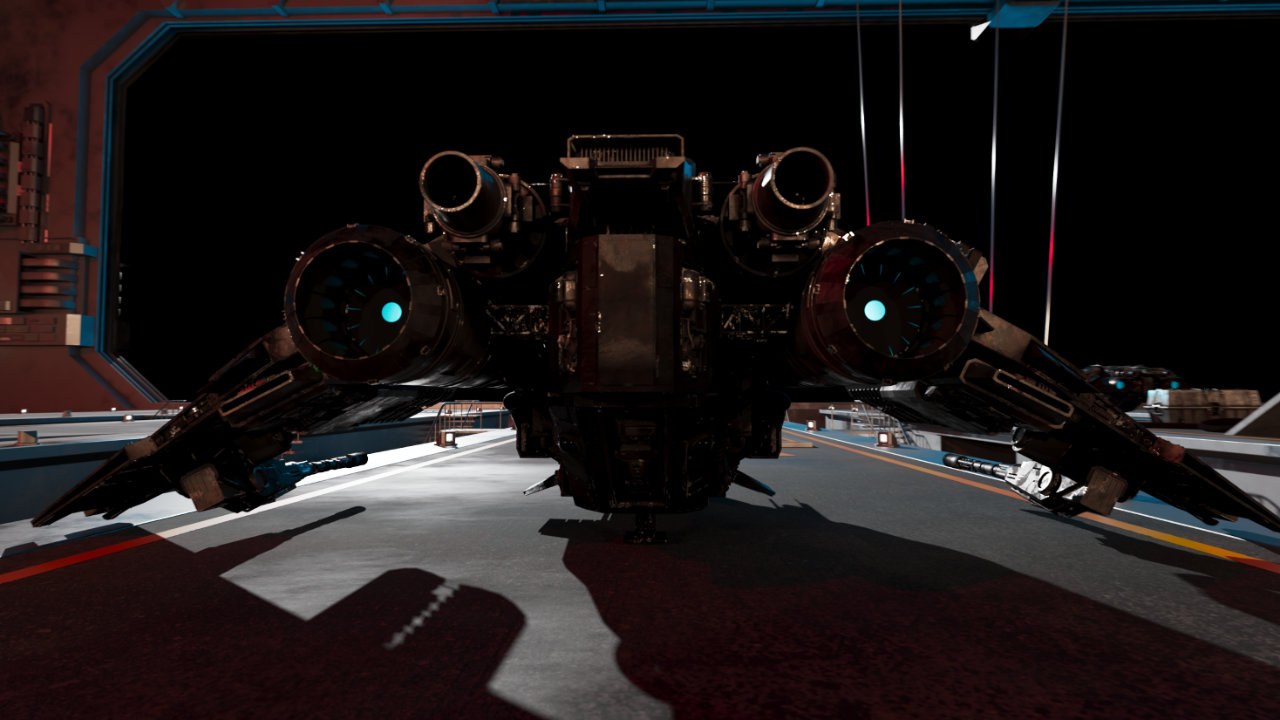
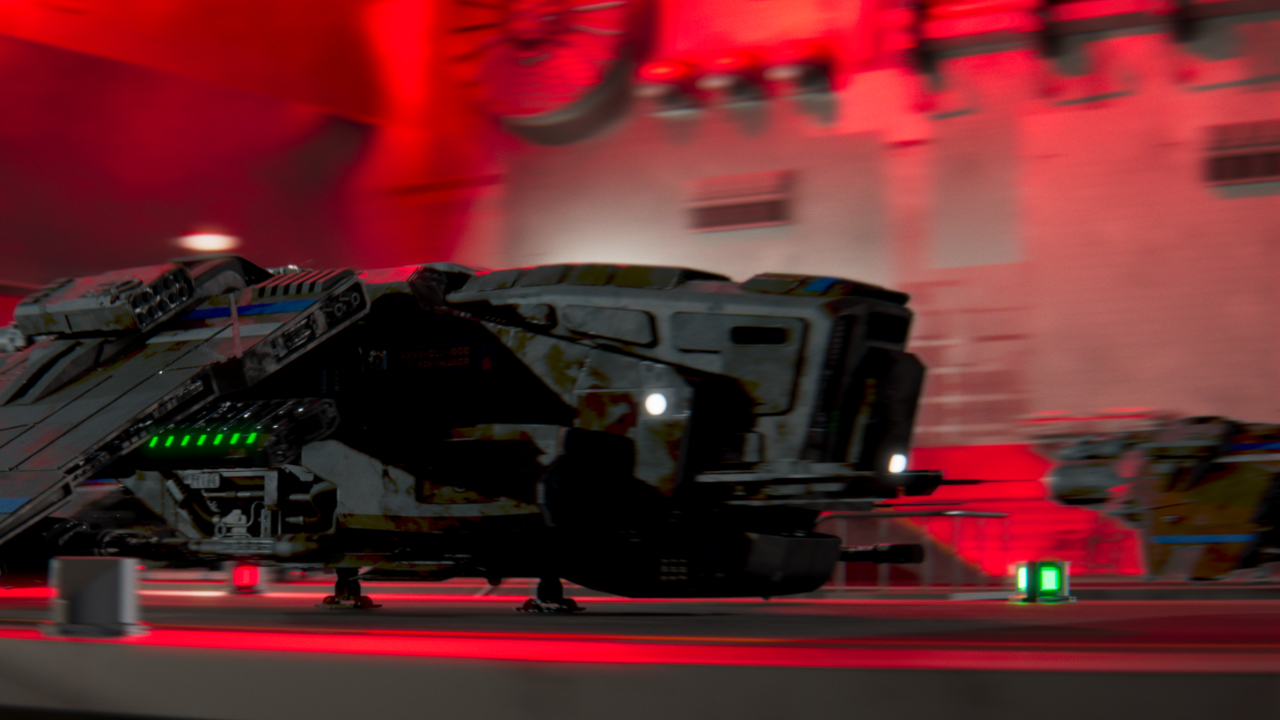
For this full CG shot, my first step was to construct the beauty with all of the light passes.
Then I analyzed the shot several times to get an overview of the movement in the shot, and to see what story needed to be told.
Grading and Defocus
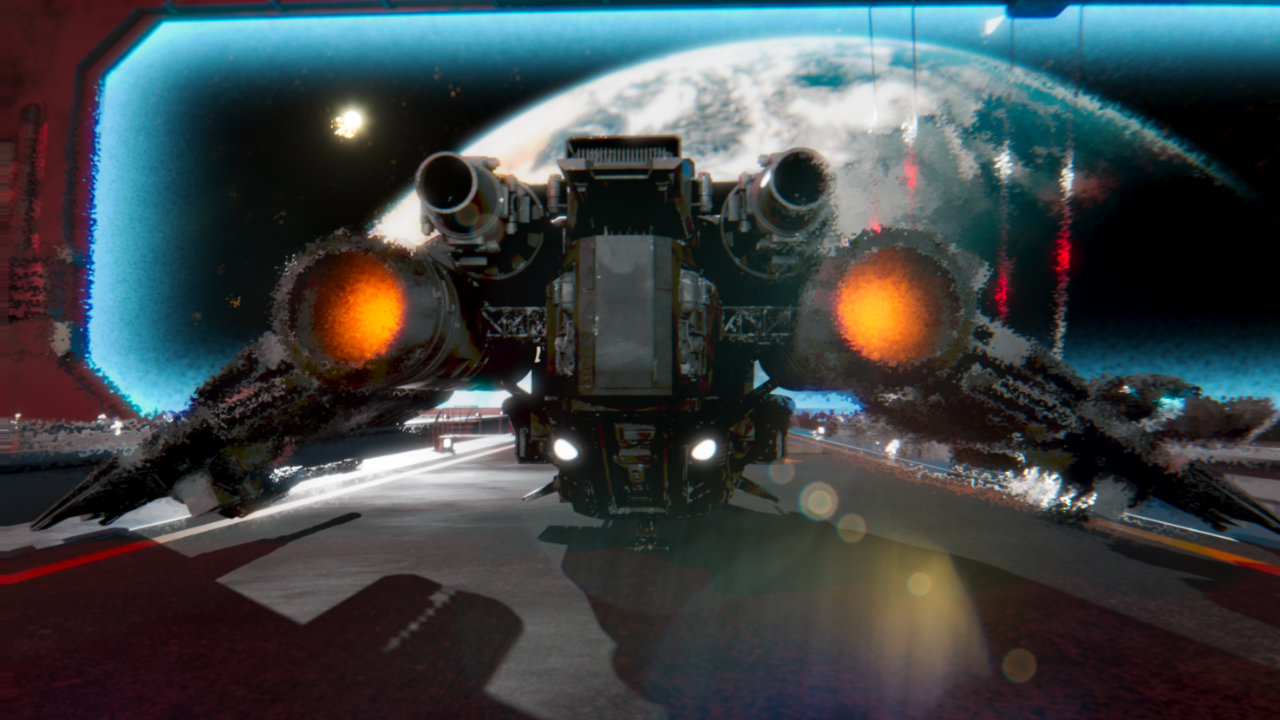
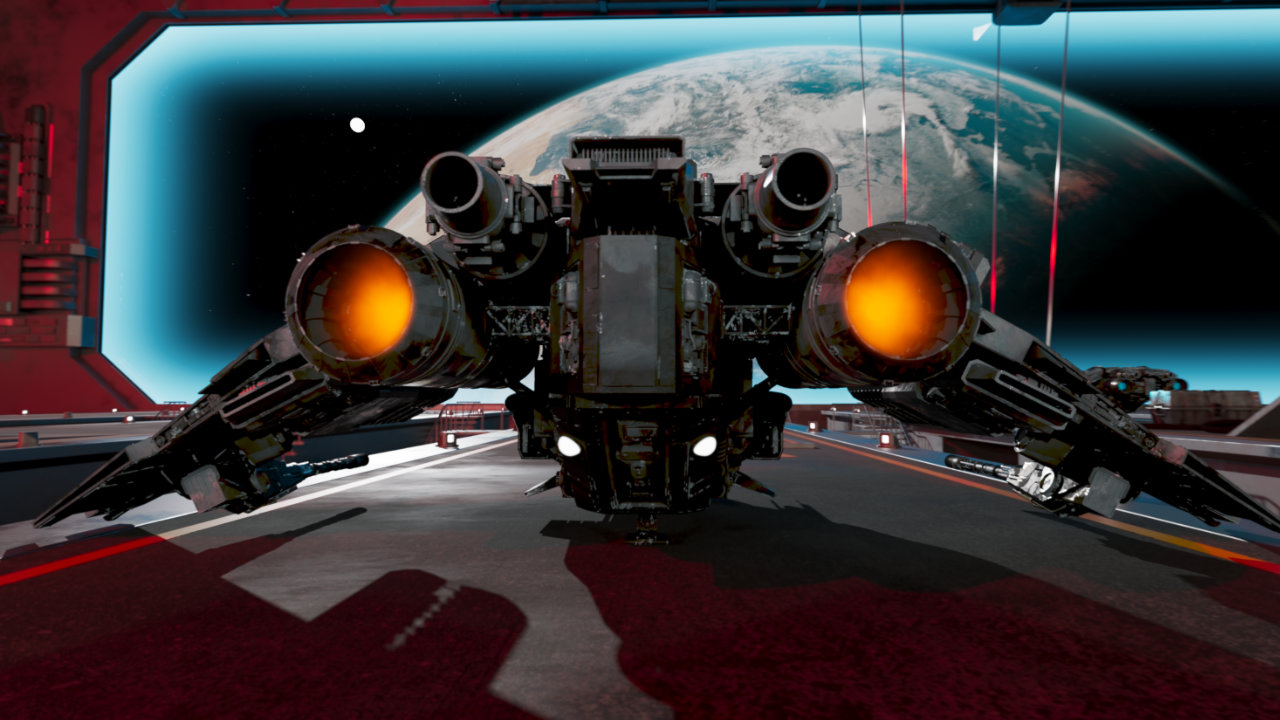
As it stood with the light groups, the story fell flat with the harsh lighting, so I graded each light group to create a more photorealistic look. I also added a sin expression for the alarm lights to create an intermittent blinking effect.
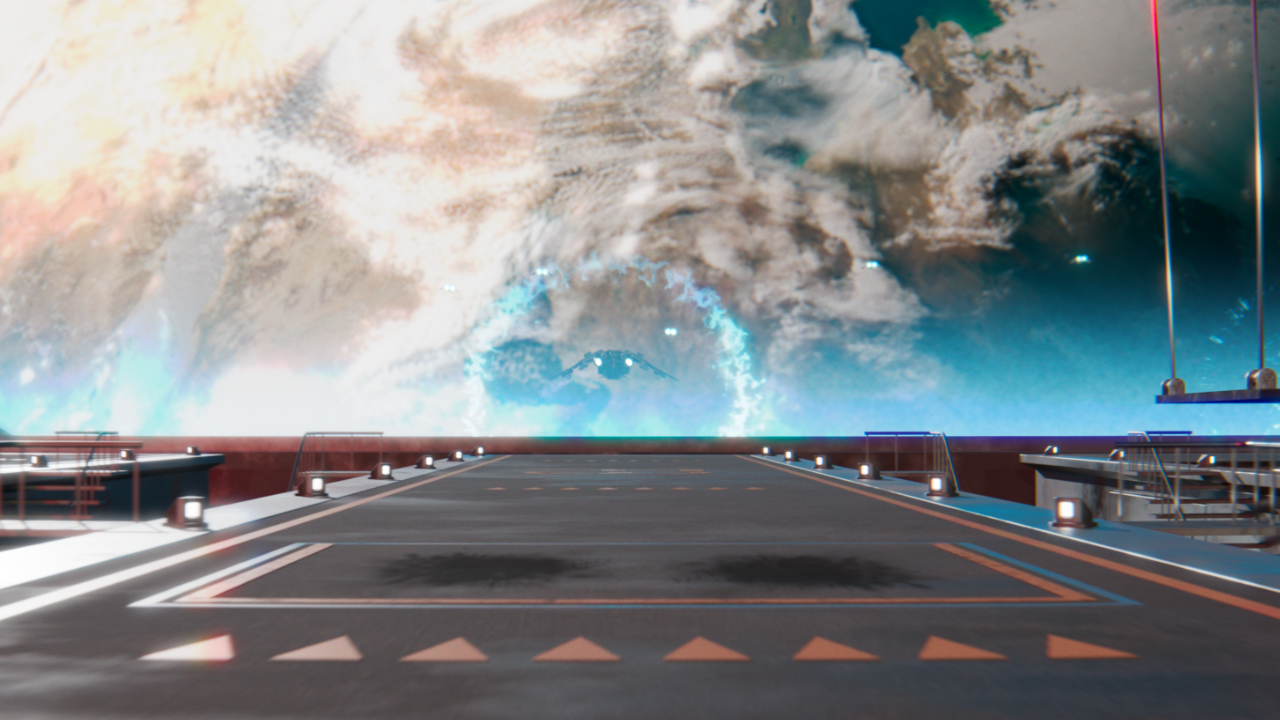
I also graded the background planet and stars for a more compelling (and photorealistic) story. Since an alpha matte was provided for the shield barrier, I was able to use that (along with a Noise node) to create the blue energy effect.
Additional Elements
Some elements had to be comped into the shot to further complete the story: shockwaves for when the ships cross the shield barrier, and the thruster burn for the jet engines.
I also added lights on the ship using roto and grade.
Finishing Touches
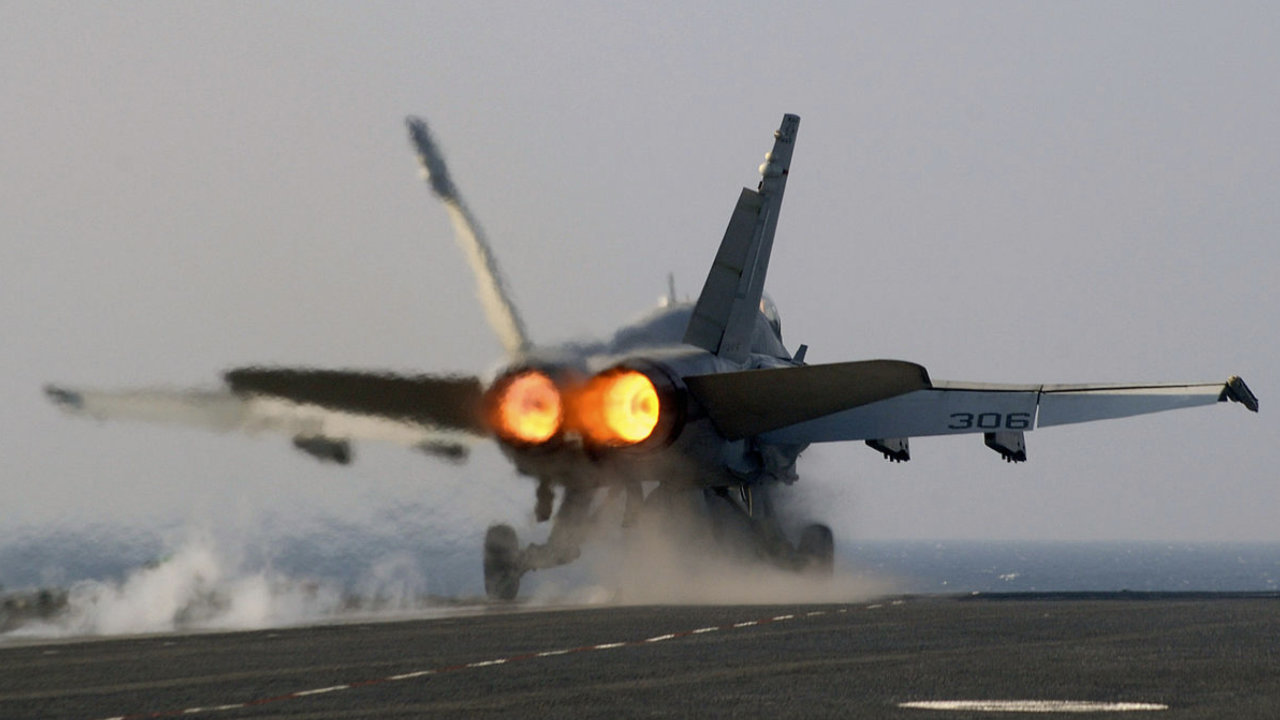
Since there are two powerful jet engines in the shot, I wanted to add heat haze to the shot. I started by looking at references of heat haze from jet fighter engines. When the engines reach full power and the ship takes off, I show that powerful energy with strong camera shake at that moment. (Of course, motion blur has been added to the entire shot.)
As this was a full CG shot, my thought process here was to add some typical lens effects to fully sell the photorealism. I added lens flares using the Flare and Glint nodes (along with Glow). I then added a very subtle amount of chromatic aberration and lens distortion. At the very end, I manually added grain to the shot.