CG Integration
Prep and Analysis
In order to get the context of the story being told in this shot, I did a slap comp of all of the CG elements onto the live plate.
I then watched the shot multiple times to analyze it for potential challenges and to get an idea of what story was wanting to be told.
For the CG monster itself, I looked at all the AOVs using the LayerContactSheet node. This gave me a gameplan to use the passes in creating a more dynamic and photorealistic look for the CG monster.
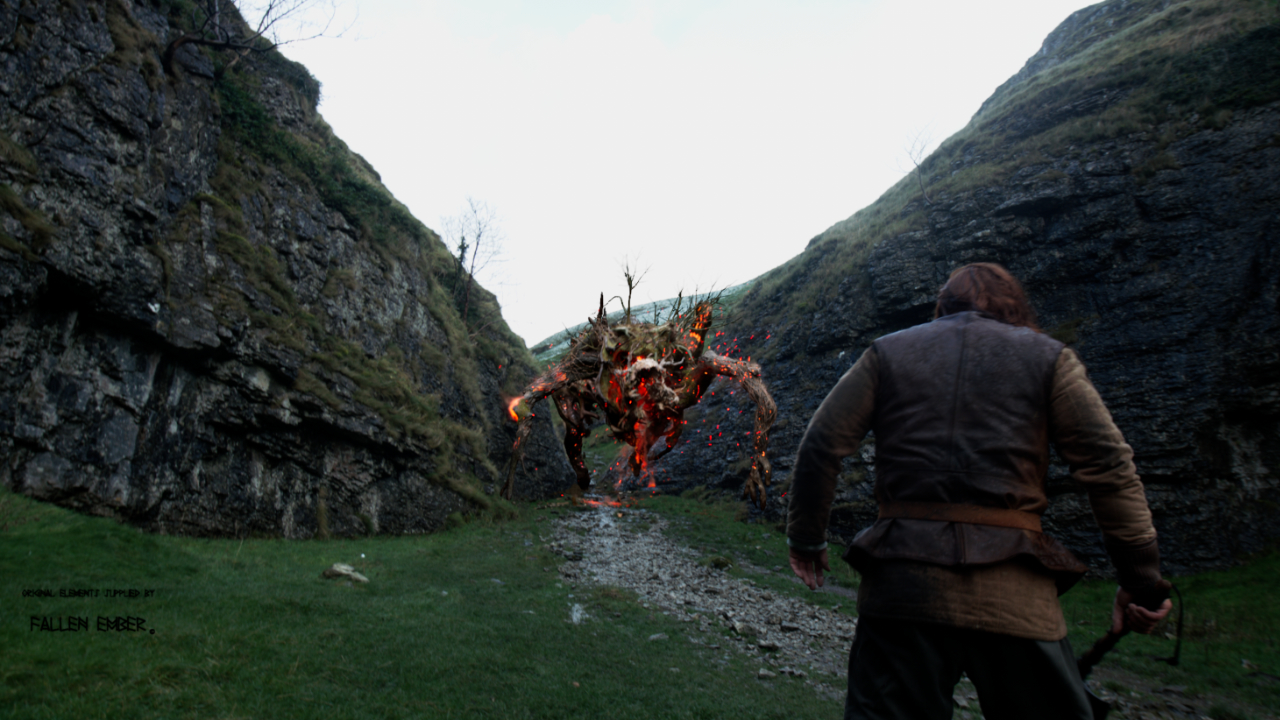

CG Integration
The name of the game here was to think in layers to make the CG monster look like it was filmed in the same camera at the same time as the live plate. With each iteration, I always made sure to look at the final comp to check the adjustment within the context of the shot.
The first step was to match blacks, highlights, and general contrast of the CG monster to its surrounding environment in the live plate. I used parts of the live plate that most closely matched the CG monster in distance and material.
Next, since the CG monster seemed too sharp and “CG perfect”, I added motion blur and some light wrap (especially around the branch elements on its back).
And since there were some abrupt movements for the CG monster, I boosted the gain on the fire and smoke elements to help show the drama of that motion.
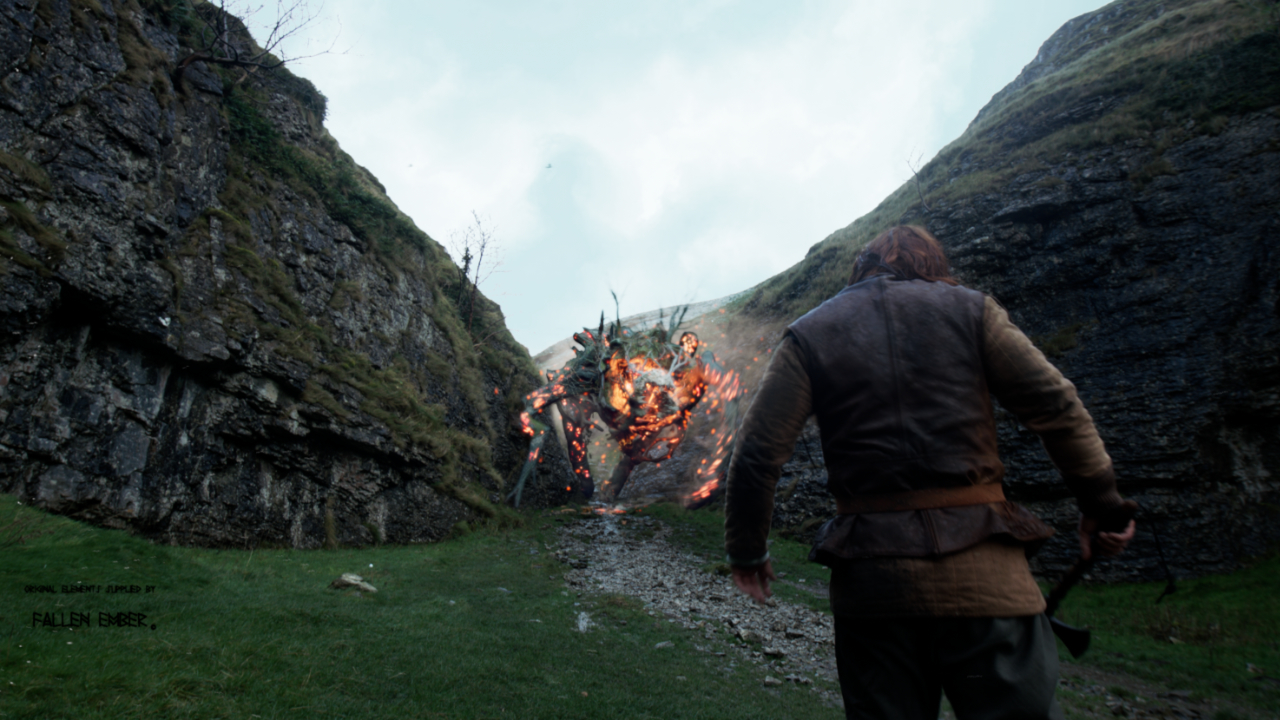
Finishing Touches
To complete the photorealistic look, I added some shadows and ambient occlusion to the shot for the monster, to make it look like it was affecting the light cast upon its surroundings. I also added some smoke elements around it to make it pop from the similarly colored rocks around it. I also added a particle system to create some subtle ashes floating in the air.